
I know the struggle of outfitting meeting rooms across multiple sites. You want consistent quality, happy users, and no compliance surprises. A standards driven approach saves you from costly rework and mismatched gear that frustrates everyone.
When each room is treated as a one off project, you get parts chaos and uneven experiences. A repeatable framework lets you assess vendor bids against shared criteria and scale upgrades without starting from scratch every time.
Quick Start Guide for Your Team
Start with the room and how people use it, because that dictates everything from screen size to accessories.
Five Steps to Get Moving
- Classify each space as a focus pod, small huddle, medium conference, large boardroom, or training room.
- Define your typical content: simple slides, detailed spreadsheets, designs, or code reviews.
- Size your display using AVIXA’s Display Image Size (DISCAS) standard and the official calculator.
- Standardise on HDMI 2.1 and USB C with DisplayPort Alt Mode for one cable docking.
- Confirm Australian Electrical Equipment Safety System (EESS) compliance and look for the Regulatory Compliance Mark (RCM) before purchasing.
Why Getting This Right Matters
Connection hassles in meeting rooms quickly turn into lost time. If ten rooms lose five minutes at the start of six daily meetings because of setup issues, that is roughly fifty hours of lost productivity every week on one site.
Pain Points You Probably Recognise
- People in the back row squint at the content because you skipped proper sizing.
- Video calls sound hollow, or remote participants cannot be heard clearly.
- Cables are the wrong spec, too short, or not labelled at all.
Room Assessment and Display Sizing
Accurate measurements prevent expensive mistakes. Capture room dimensions, maximum viewing distance, and note how ambient light shifts throughout the day.
Applying the AVIXA Standard
AVIXA’s DISCAS image size standard calculates the minimum image height from the content type and viewing positions. Detailed content, such as spreadsheets, needs larger displays than simple slides. Print the calculator results and keep them with your room documentation for future audits and vendor discussions.
Managing Light and Glare
Log where sunlight hits during business hours. Note reflective surfaces and plan for blinds or matte finishes to control glare, in line with Comcare’s Australian workplace lighting guidance.
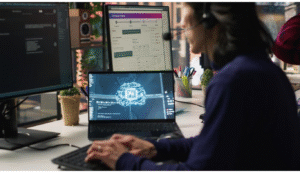
Choosing Your Display Technology
Pick display types based on your rooms and content, not on special offers.
Flat Panels
These suit bright rooms with mixed content and need little maintenance, but size is limited by the wall and weight.
Projectors
Projectors give large images cheaply when you can control ambient light. Insist spec sheets follow ISO/IEC 21118:2020 so brightness claims are comparable.
Direct-View LED
LED walls provide seamless, very bright, large images for lobbies or training rooms, but they need structural checks and larger budgets.
Audio, Cameras, and Room Coverage
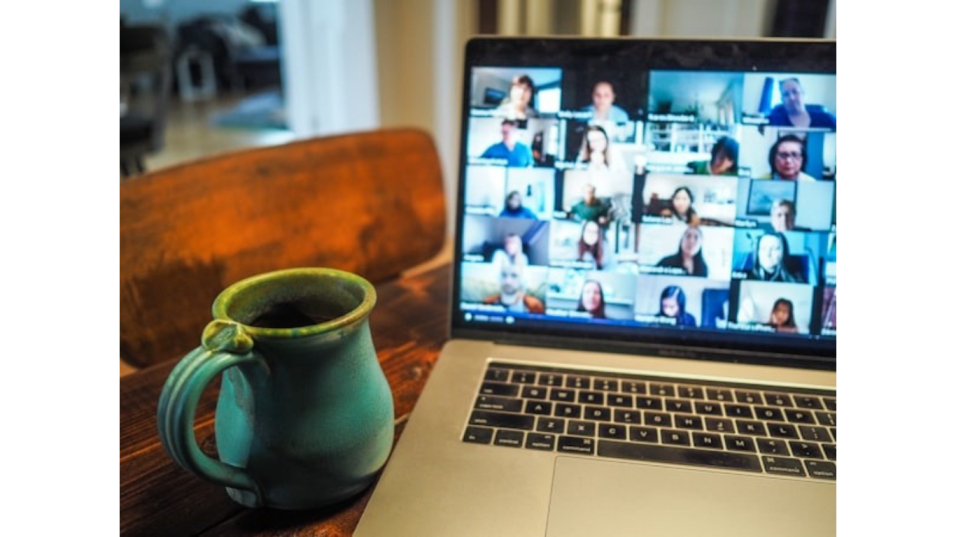
People forgive average video much faster than bad audio, so prioritise microphone coverage, echo control, and speaker placement.
Choose mic types appropriate to your table shape and room length. Position cameras at seated eye height near the main display for natural sightlines. Add front fill lighting if rooms are backlit, and avoid harsh downlights that create shadows on faces.
Mounting and Mobility Solutions
Decide early whether displays mount to walls or move on carts to avoid costly rework later.
Fixed Versus Mobile
Wall mounts minimise footprint and suit rooms with predictable usage. Mobile carts maximise utilisation across floors and training areas. Document load ratings, VESA patterns, and integrated cable management for whatever you choose.
A Practical Solution
If you need to wheel a 75 to 98 inch screen between training rooms, consider Retail Display Direct’s mobile TV stand. It has a higher load rating and integrated cable management, which makes moves safer and neater. Keep a spare power extension and labelled cable clipped to each cart, such as the Retail Display Direct heavy duty mobile tv stand, for fast setup.
Connectivity That Actually Works
Standardising ports and cables eliminates adapter chaos and compatibility mysteries.
Specify at least one HDMI 2.1b input with certified Ultra High Speed cables supporting 4K at 120Hz. For PC driven high refresh rates, include DisplayPort 2.0.
USB C with DisplayPort Alt Mode carries video, data, and charging over one cable. Label every cable with speed and power rating on both ends to reduce confusion.
Security and Network Management
Treat AV devices as managed endpoints with proper security controls.
Segment AV gear on virtual LANs (VLANs) and restrict management interfaces to admin subnets. Enforce WPA3 security on wireless presentation paths.
Keep firmware current and lock down USB ports on shared room PCs to reduce malware risk. Use platform admin dashboards to track room health and alert on offline devices.
Energy, Compliance, and Total Cost
Budget for lifetime cost, not just the purchase price.
Prefer ENERGY STAR certified displays, which average seven per cent lower energy use. Use the EPEAT registry, an environmental rating, to verify claims.
In Australia, in scope electrical gear must show the RCM mark and link to a registered Responsible Supplier under the EESS. Keep compliance documentation on file for audits, and include hardware, installation, licences, training, spares, and energy costs in your total cost of ownership (TCO) model.
Pilot, Rollout, and Training
Build standard bills of materials per room type and pilot one of each to validate your assumptions.
Test with two or three user groups, refine presets and labels, then scale. Publish one sheet user guides, label cables by colour and function, and define ticket flows for support. Schedule quarterly health checks to catch drift and update firmware.
Pitfalls to Avoid
Common mistakes create poor experiences and compliance gaps.
- Buying on diagonal size instead of DISCAS-driven image height.
- Using old cables that unexpectedly limit resolution.
- Forgetting platform licenses, which delays room activation.
- Skipping RCM checks, risking non-compliant equipment reaching users.
Conclusion
When you base decisions on solid sizing standards, modern connectivity, and Australian compliance, rooms work the first time and keep working. Start small by piloting one of each room type, tune your templates from real feedback, and then scale with confidence. Document key choices and measure outcomes so future refreshes are driven by data instead of guesswork.
Article received via email